
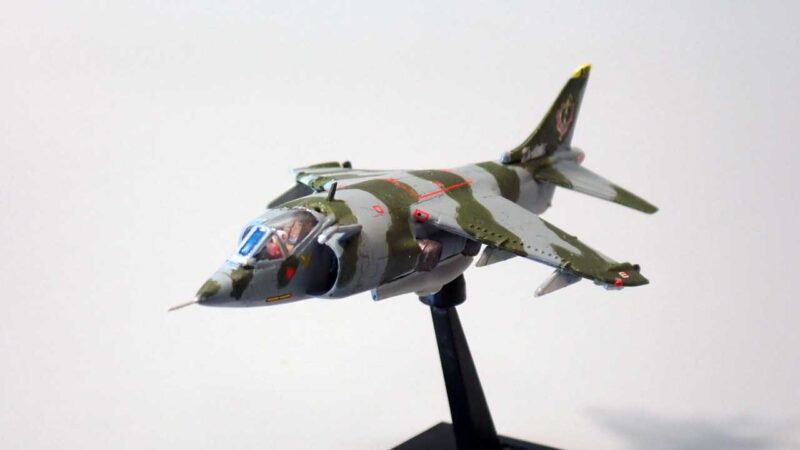
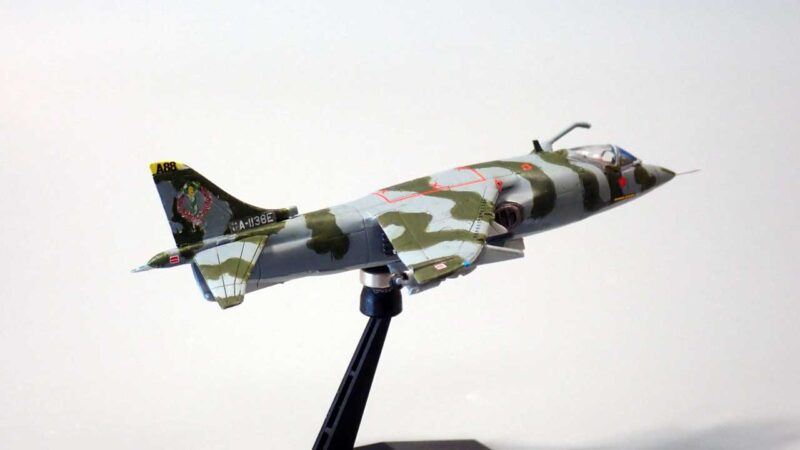
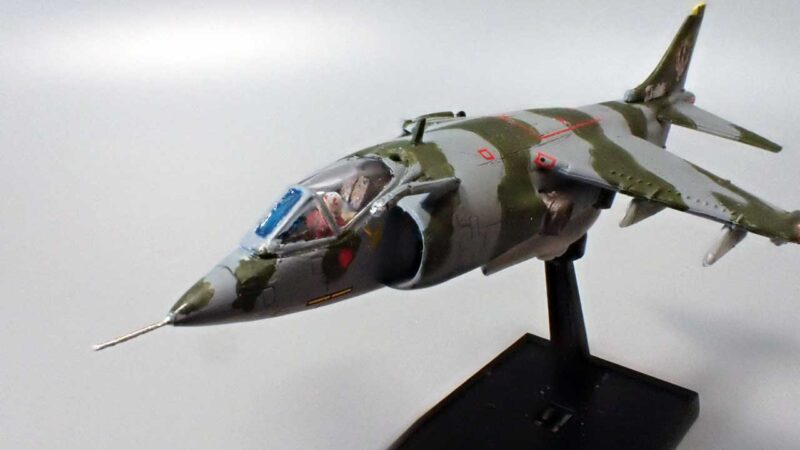
エリア88、キム仕様のハリアー(1/144)を作りました。型は英国のハリアーでGR.1です。
1.使用キット
使用キットは、マークワン製。
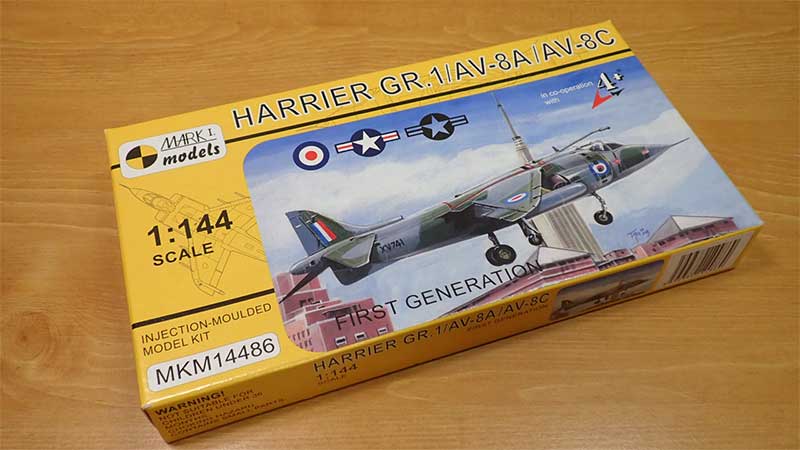

マークワンはチェコのメーカーです。初めて作りましたが、精度はあまり良くないです。
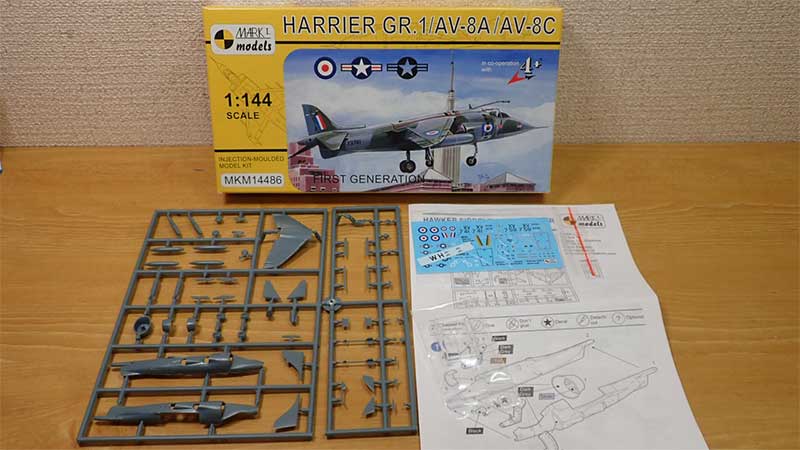
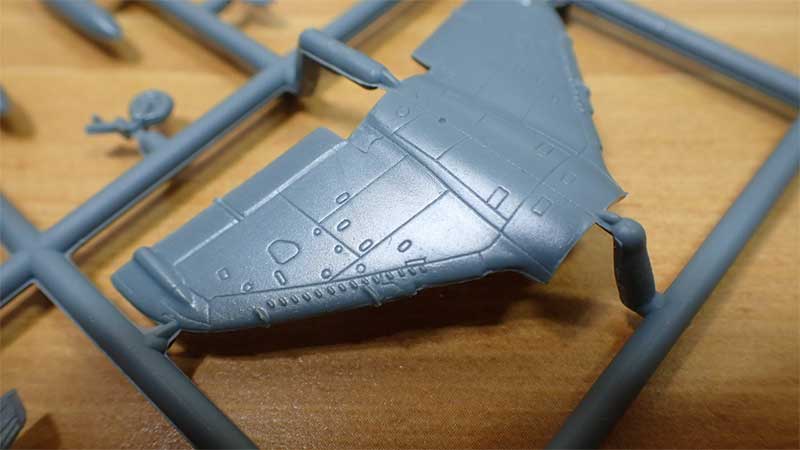
バリがそれなりにある。
パイロットフギュア未添付。
ガンポッド有、サイドワインダー×2、爆弾×2
ロケットポッド無し。
2.コンセプト
・キットは駐機状態だが、飛行状態で作る。
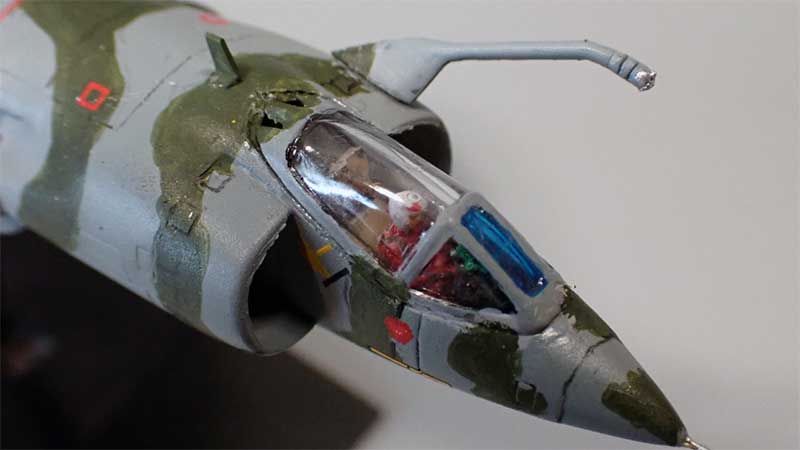
・するとパイロットを乗せる必要があるが、3Dプリンタで打ち出したものを使う。
3.製作
3.1.造形
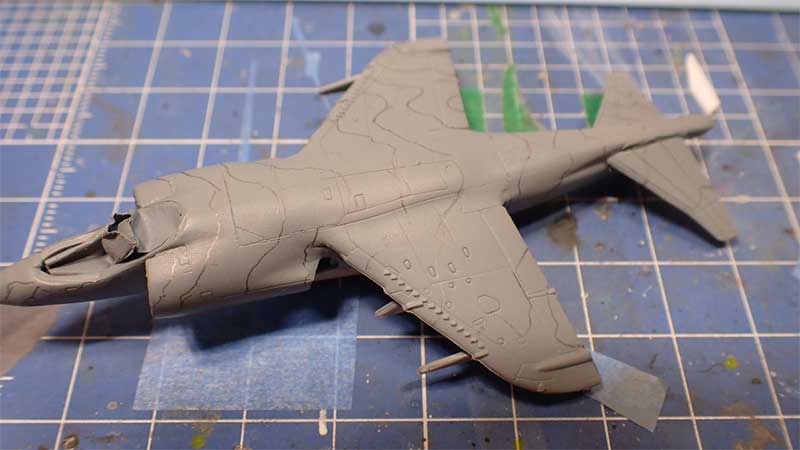
コックピットとエンジンを塗装して組み込む。
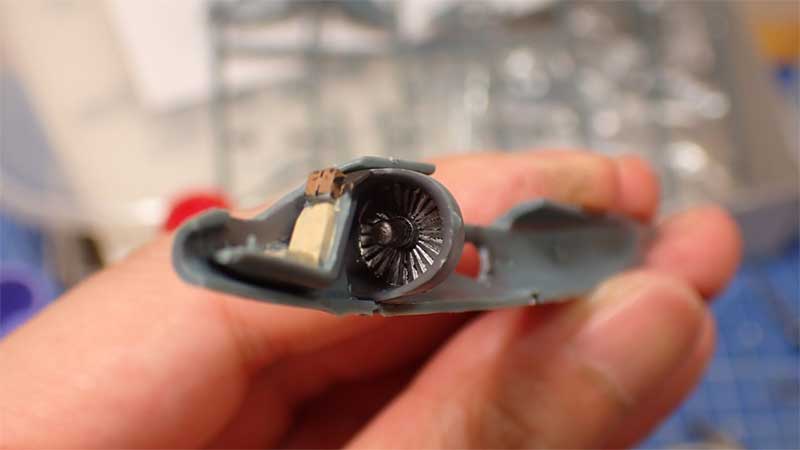
中に磁石を瞬間接着剤で接着しておく。
主翼部分がピッタリ来ない。隙間が空くし段差ができる。
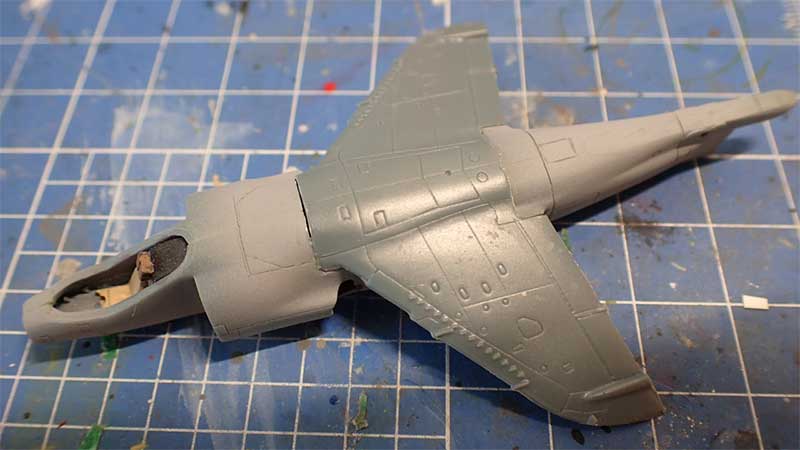
パテで埋めて修正する。
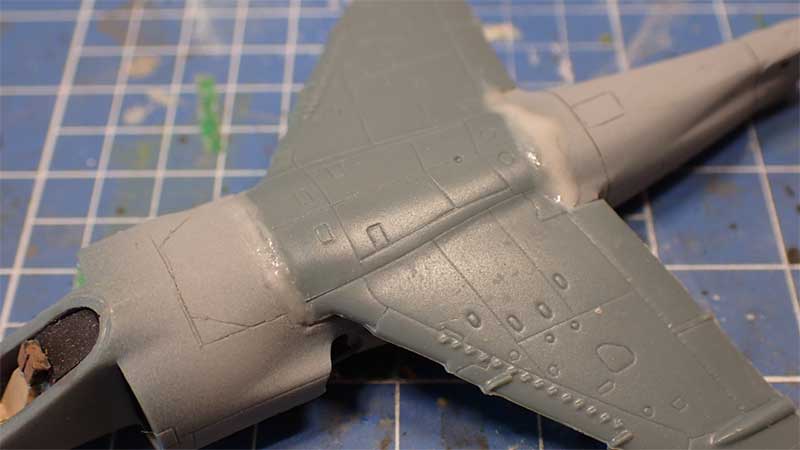
パテは、瞬間接着剤とベビーパウダーを混ぜたものを使った。
ベビーパウダーを混ぜると、乾いたあと削りやすくなる。
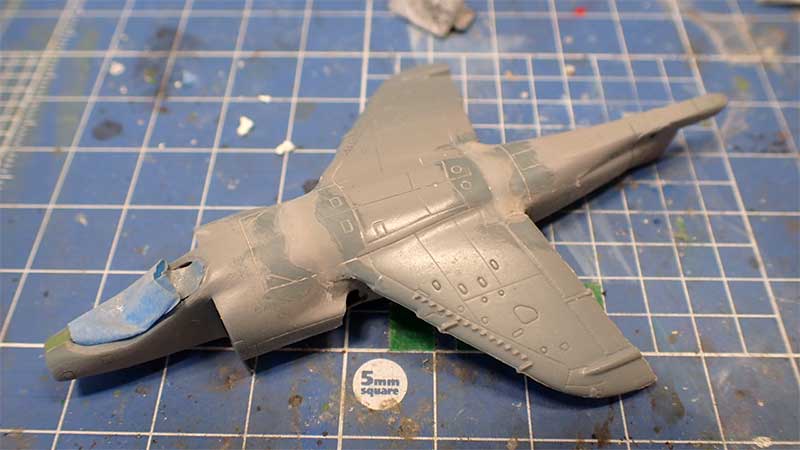
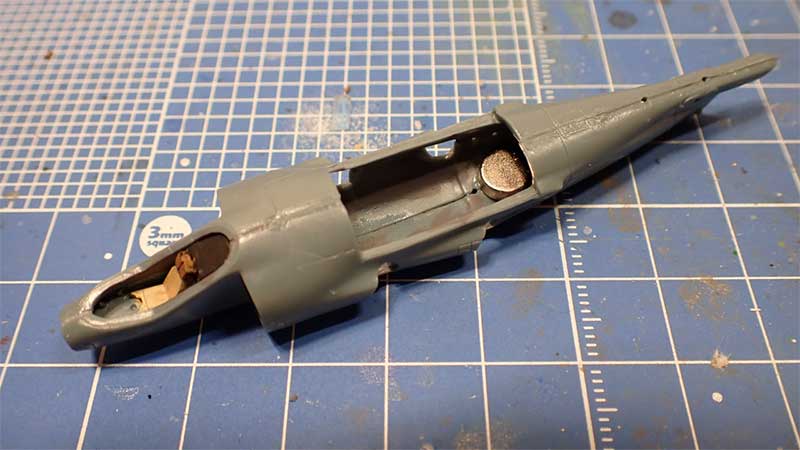
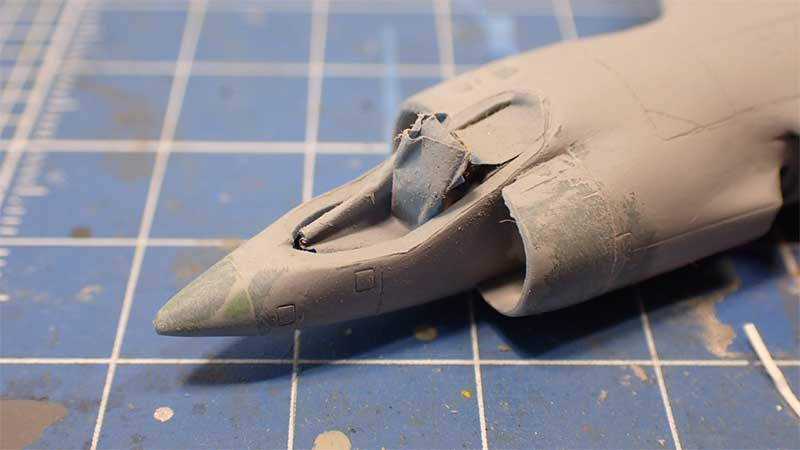
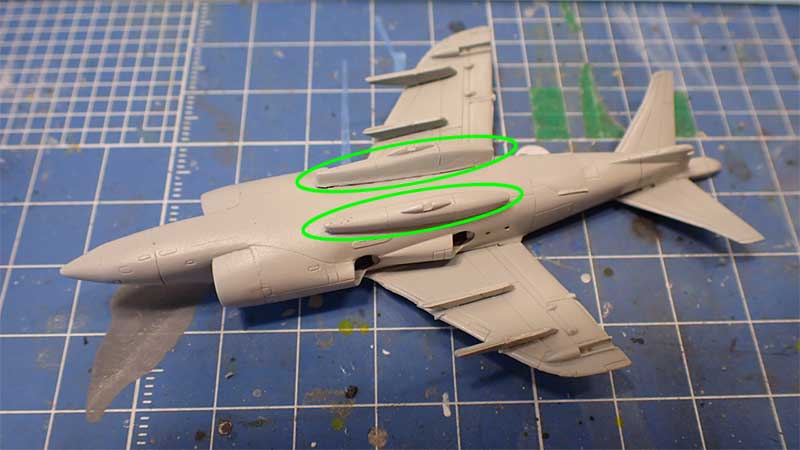
先端も合わない。胴体より一回り小さい。
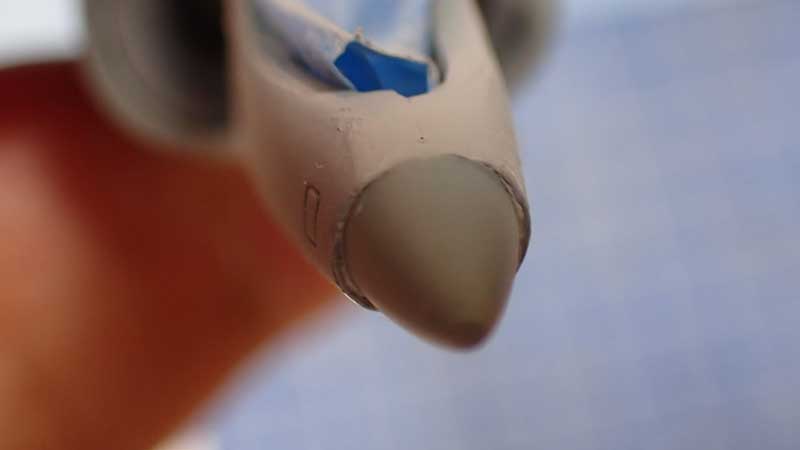
エアインテイクも合わない。
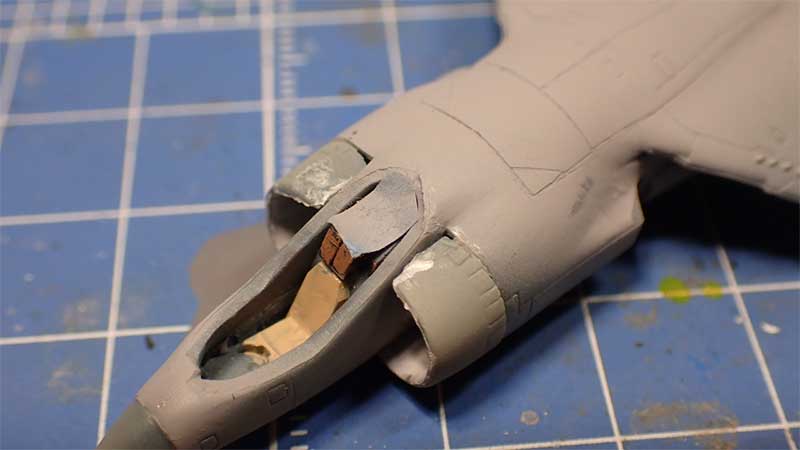
全てパテ埋めして整形。
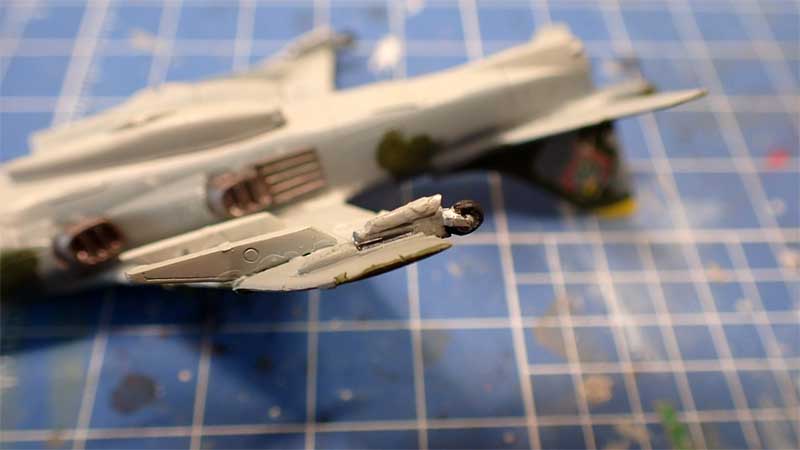
裏面にはガンポッドを付ける。
ハードポイント(ミサイル、爆弾などをぶら下げるラック)も接着した。
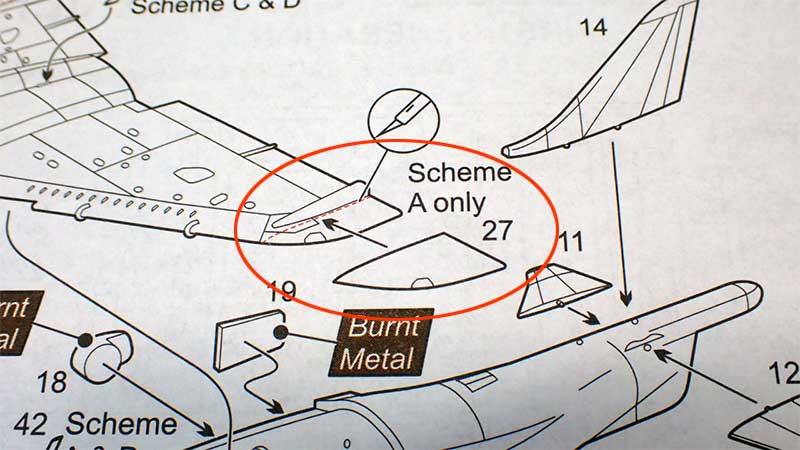
知識:AV-8Aの場合、主翼幅が広い。
3.2.塗装
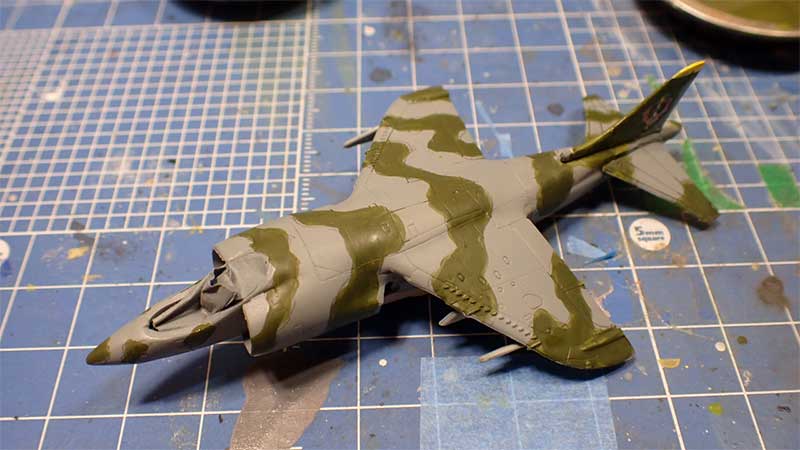
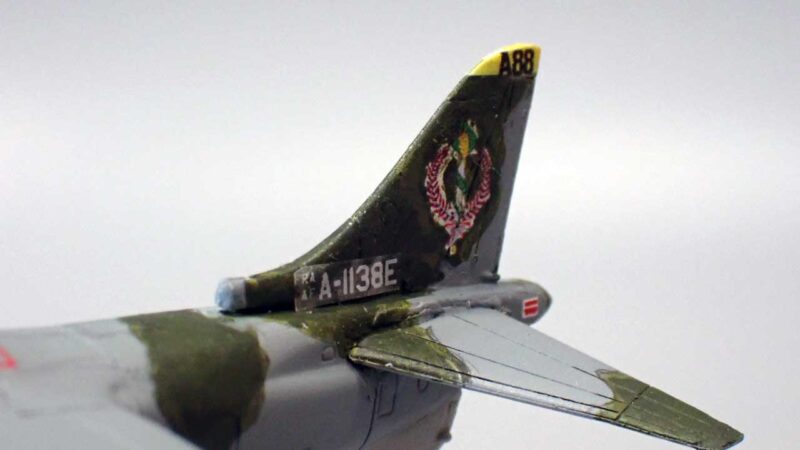
迷彩模様は、鉛筆で下書きして、筆塗りした。
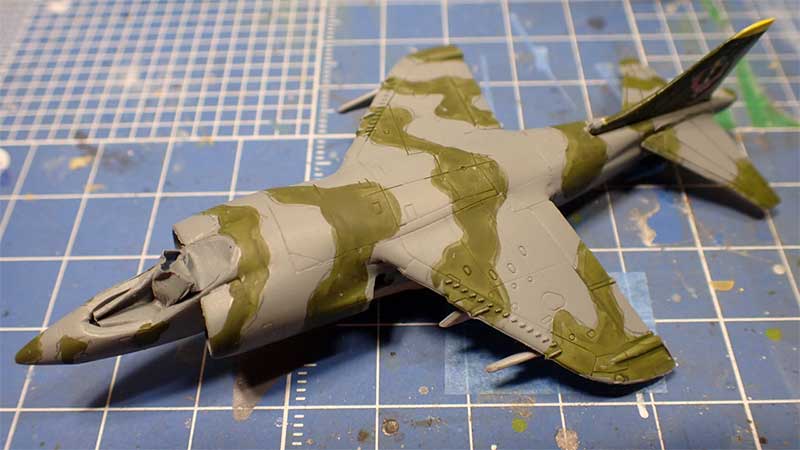
3回~4回くらい塗り重ねる。
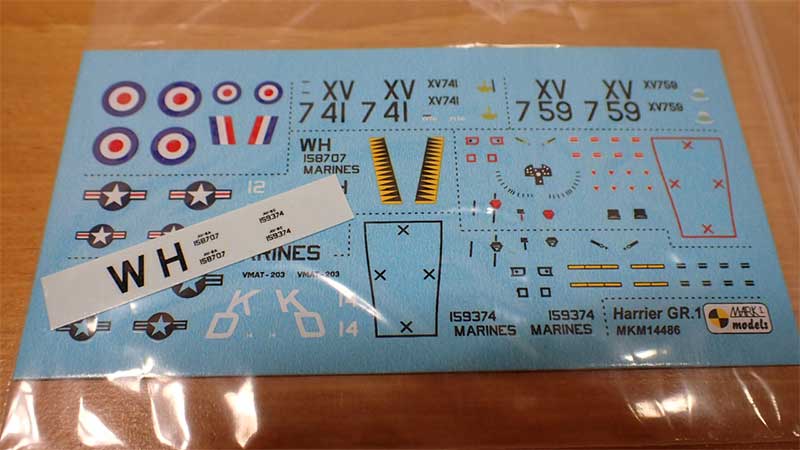
3.3.デカール
デカールはインクジェットプリンターで自作。
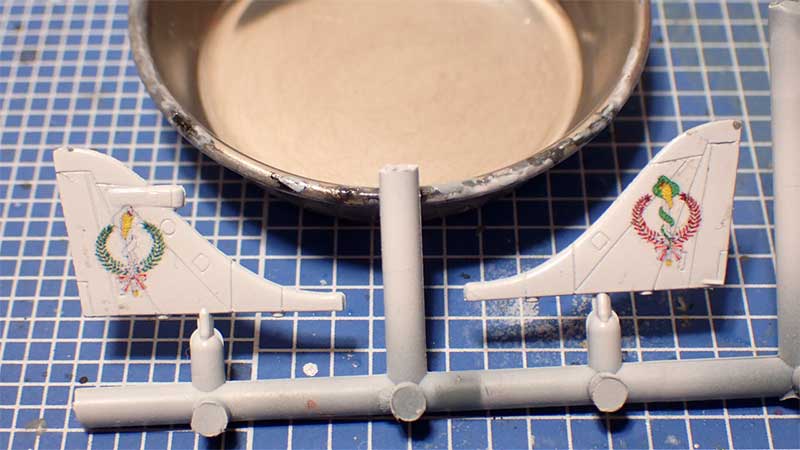
デカールは透けるので、白地に貼り付けて、周りを筆塗りした。
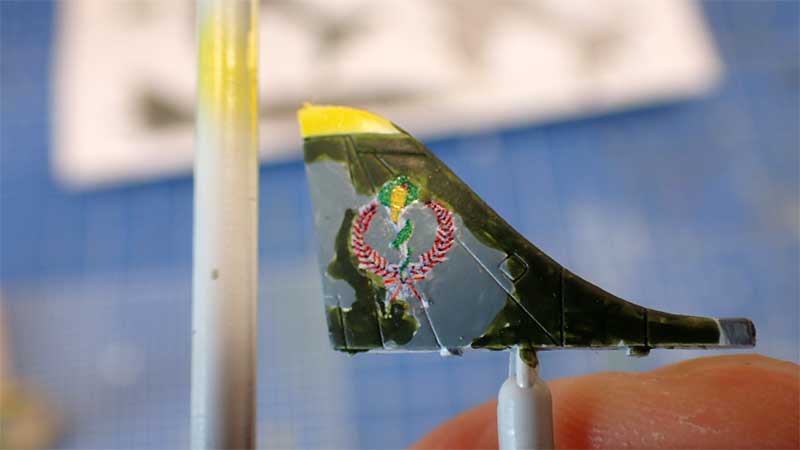
きれいに塗り分け無理。
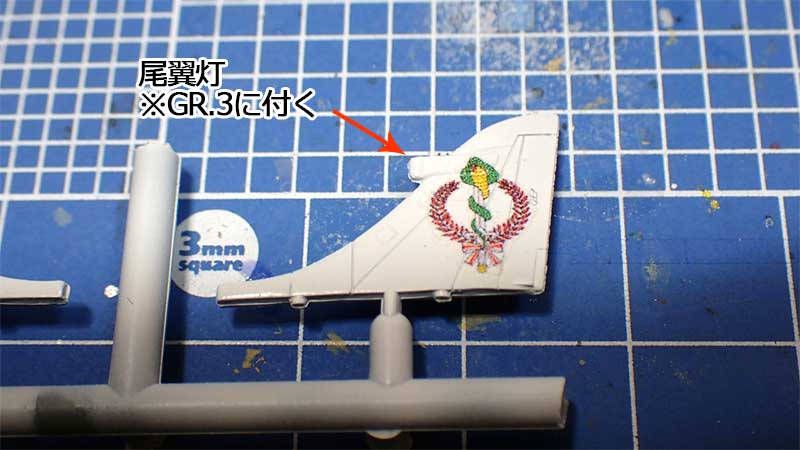
知識:尾翼上にあるでっぱりは、尾翼灯でGR.3に付く。スペイン海軍やタイ海軍の機体にも付いている。
3.4.小部品の取り付け
着陸脚
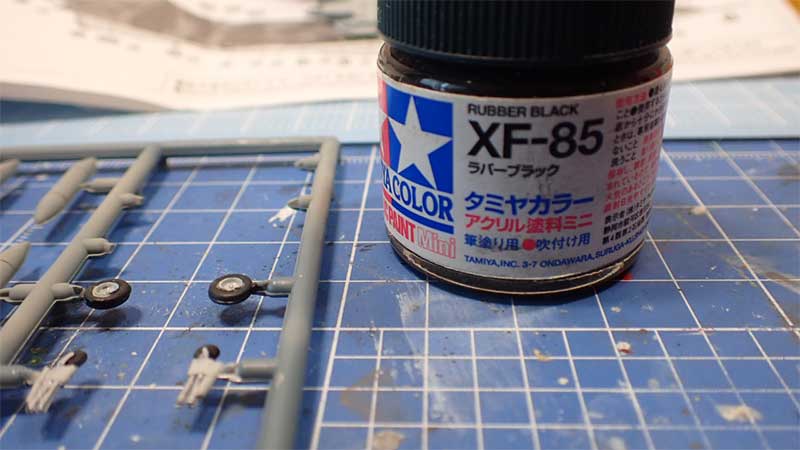
タイヤは、XF-85ラバーブラックで塗装。タイヤブラックよりタイヤっぽい。
着陸脚は、寝せて接着することで、飛行状態を再現した。

キム・アバ
パイロットフィギュアは未添付なので、3Dプリンタで印刷した。
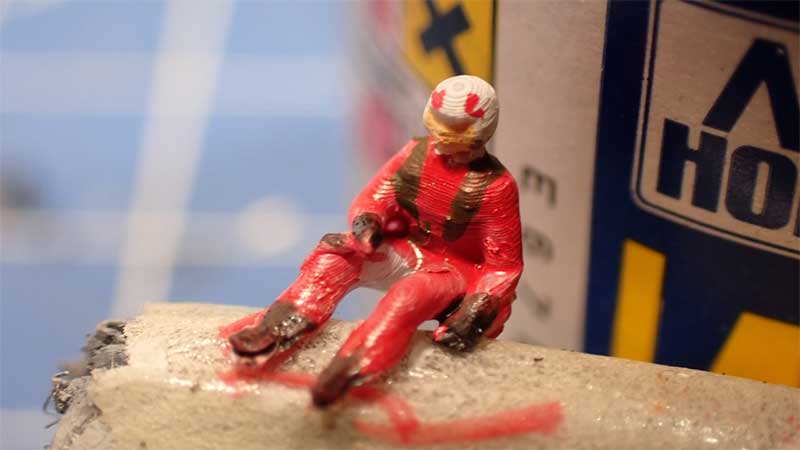
スーツをあずき色で塗装した。
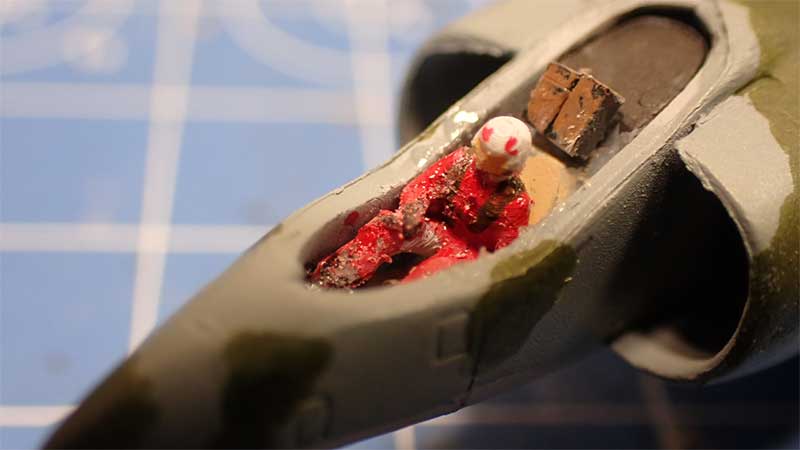
キャノピーが閉じなくなる可能性があるので、注意する。
4.完成


5.使用したもの
5.1.使用キット
もう売ってないっぽい。
5.2.塗料
■上面1:C337 グレイッシュブルー(C)(H社:C331 ダークシーグレー)
■上面2:XF-58 オリーブグリーン(T)(H社:C330 ダークグリーン)
■下面:C315 グレーFS16440(C)(H社:C332 ライトエアクラフトグレー)
■タイヤ:XF-85 ラバーブラック(T)(H社:C137 タイヤブラック)
※(C)クレオスMr.カラー、(T)タミヤアクリル
(H社)ハセガワ製の場合の指定カラー
コメント